카테고리 없음
Github action 관련 구글드라이브 연동
공.대.남
2023. 12. 3. 20:17
반응형
배경
GitHub Actions를 통해서 개발 결과물 배포를 자동화할 수 있습니다. 파일 형태로 개발 결과물을 배포를 해야 하는 경우에는 배포 용이성과 배포 버전 관리를 고려하여 클라우드 저장소를 사용하는 것이 좋습니다.
본 문서에서는 GitHub Actions와 Google Cloud를 사용하여 Google Drive에 개발 결과물을 배포하는 방법에 대해서 소개합니다.
사용할 GitHub Actions 라이브러리
google-drive-upload-git-action
Google Cloud 세팅
먼저 Google Cloud Console에 접속합니다.
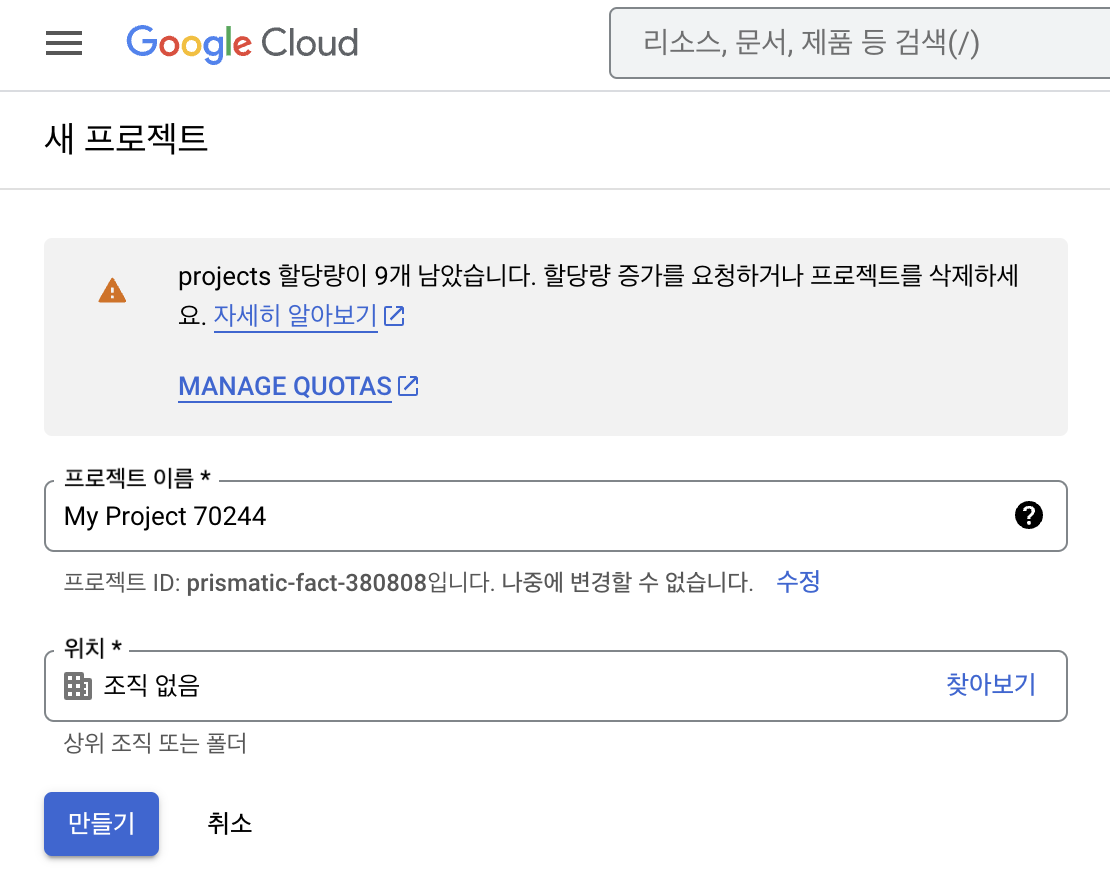
새 프로젝트를 하나 생성합니다.
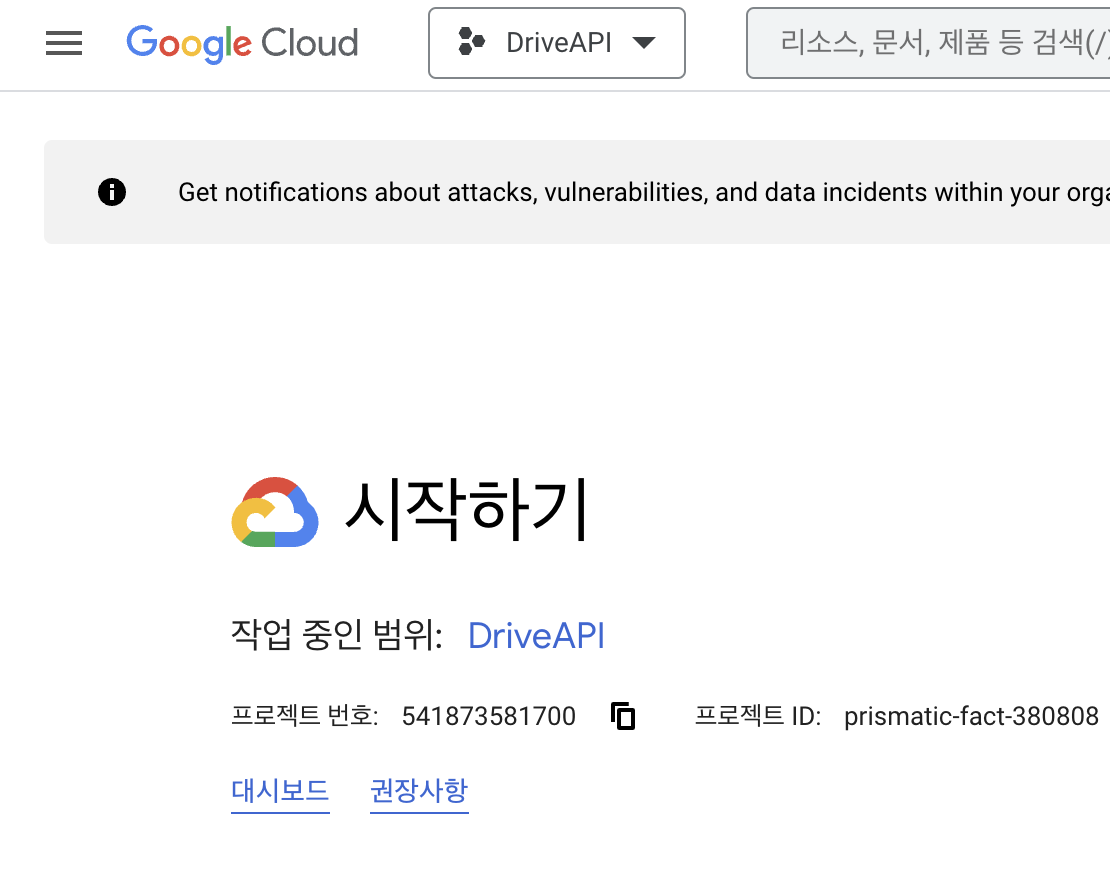
생성한 프로젝트로 전환합니다.
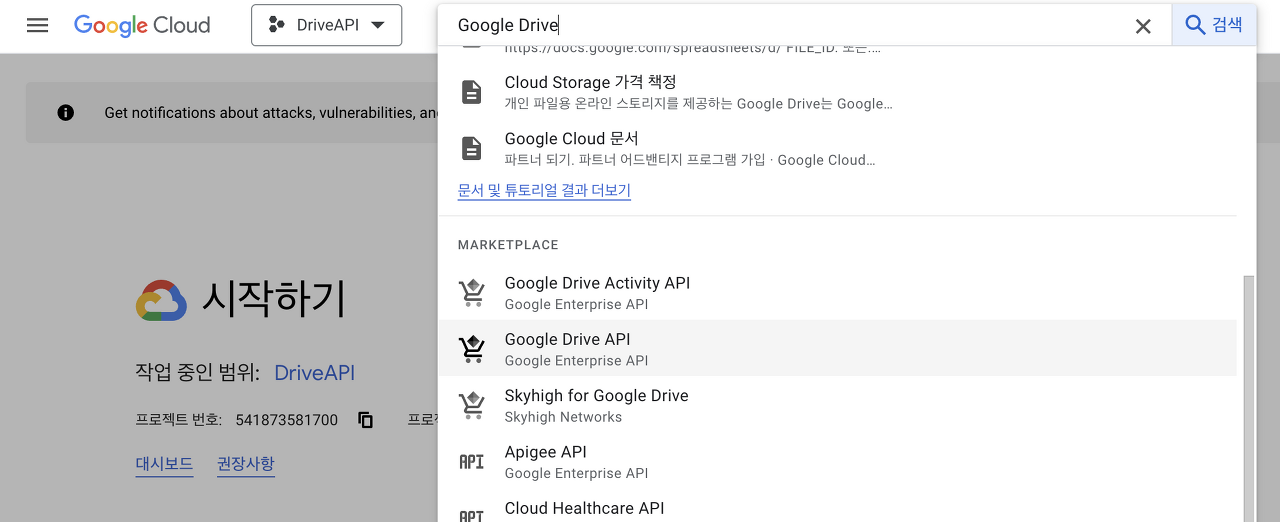
Google Cloud 관리 콘솔 검색창에서 Google Drive API를 검색하고 선택합니다.
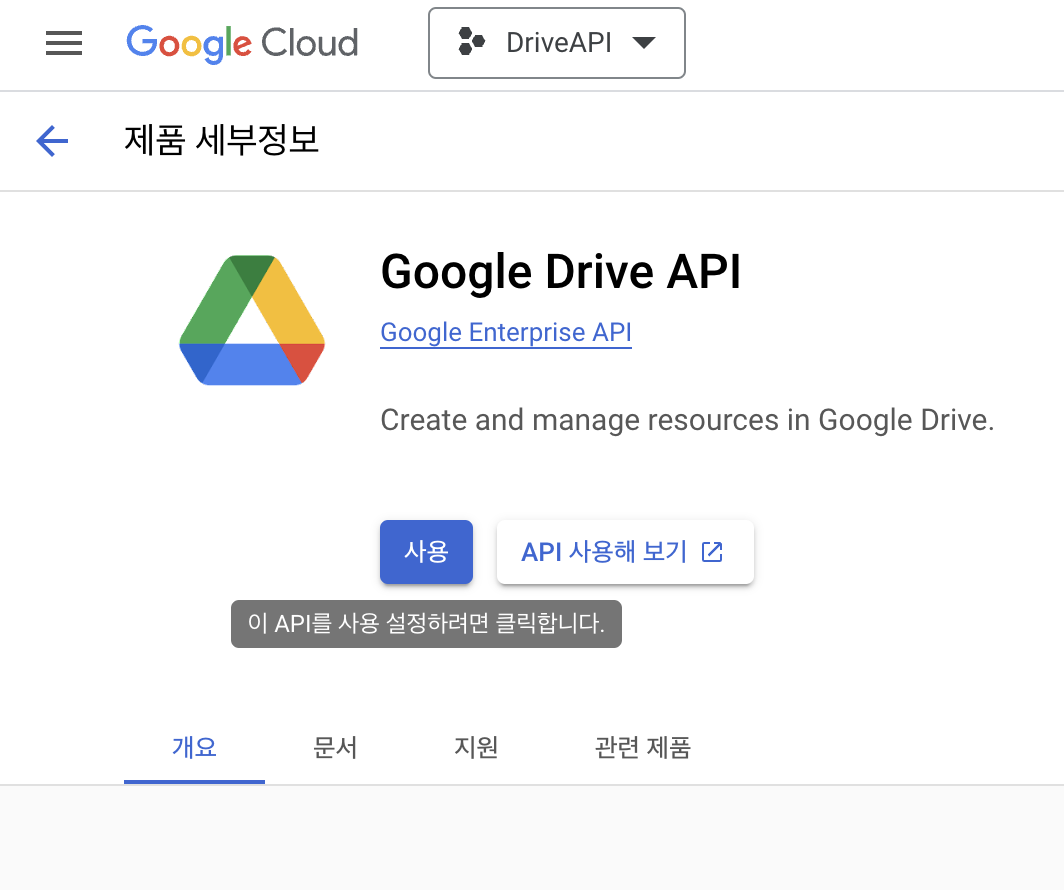
Google Drive API [사용]을 누릅니다.
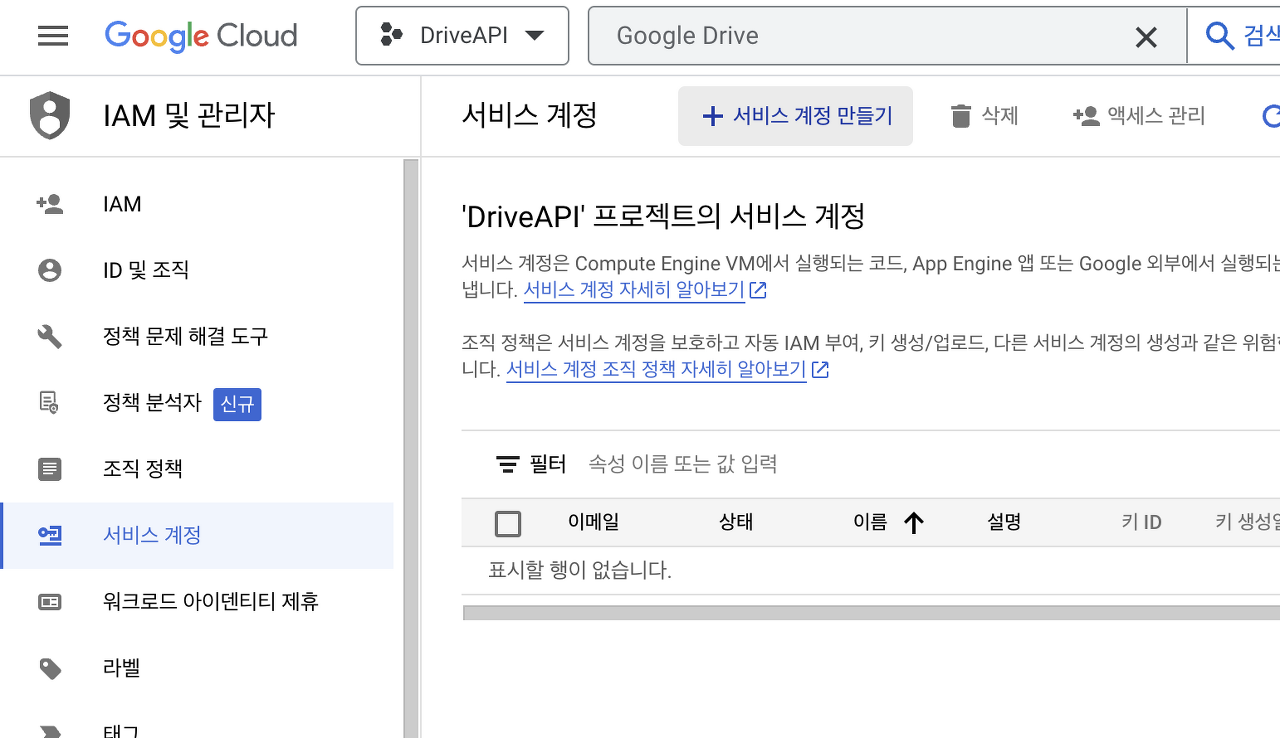
[IAM 및 관리자] - [서비스 계정]에서 서비스 계정을 추가합니다.
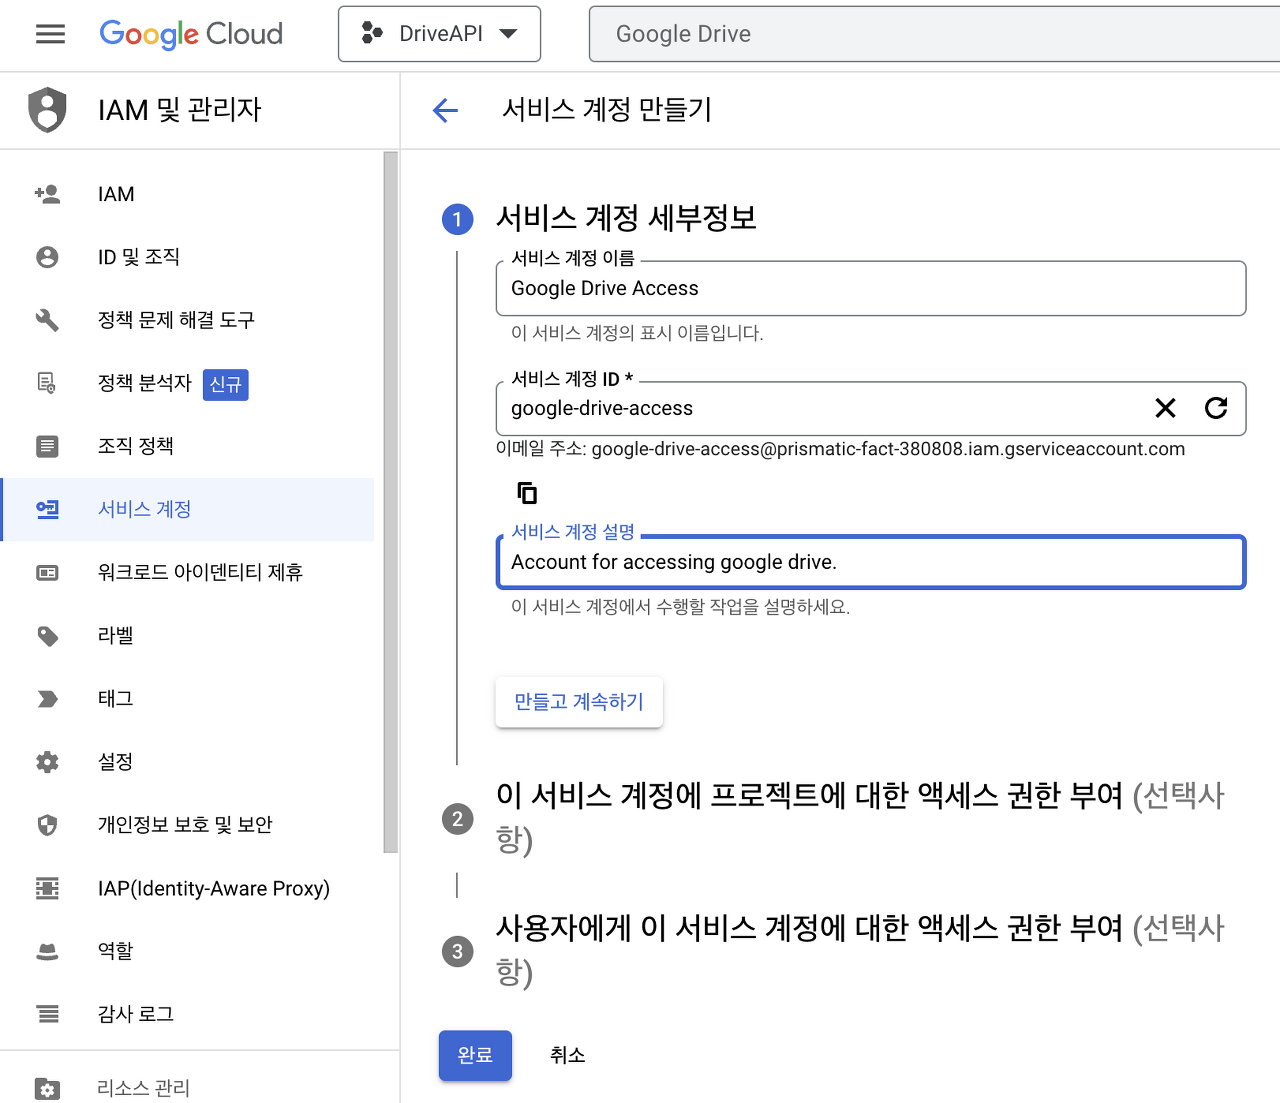
위와 같이 원하는 이름과 계정 설명을 입력합니다.
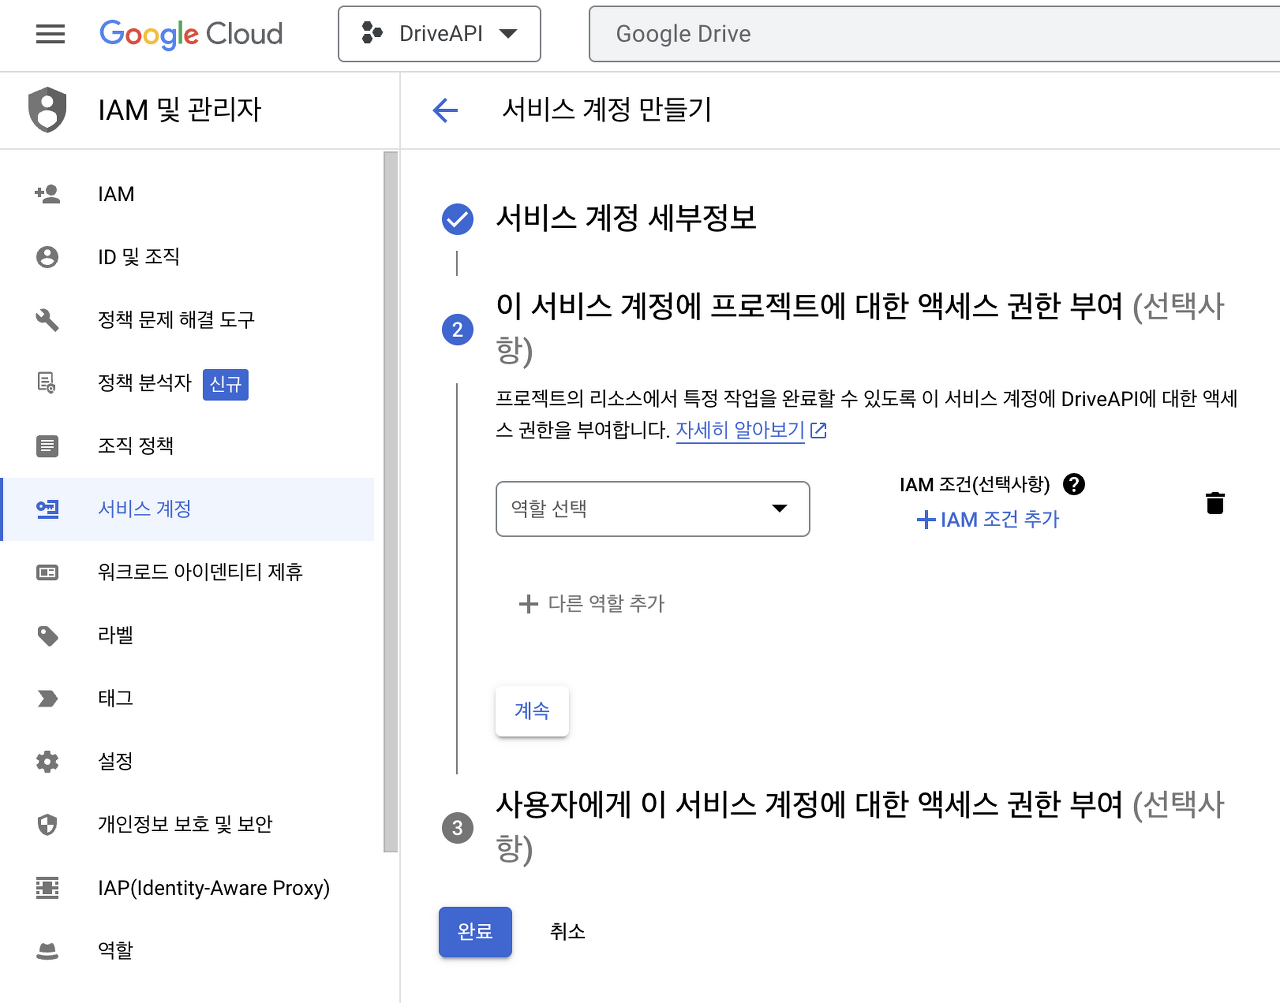
나머지 설정은 무시하고 [완료] 버튼을 누릅니다.
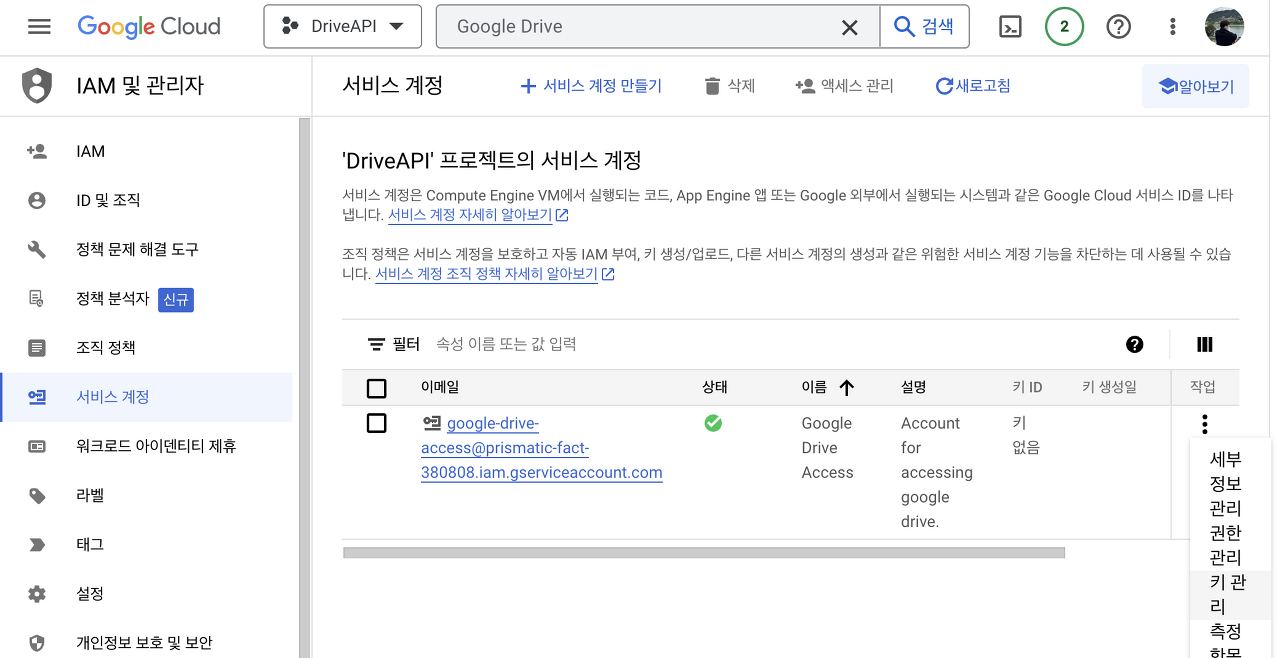
추가한 계정의 가장 오른쪽의 작업 메뉴을 열어서 [키 관리] 항목을 클릭합니다.
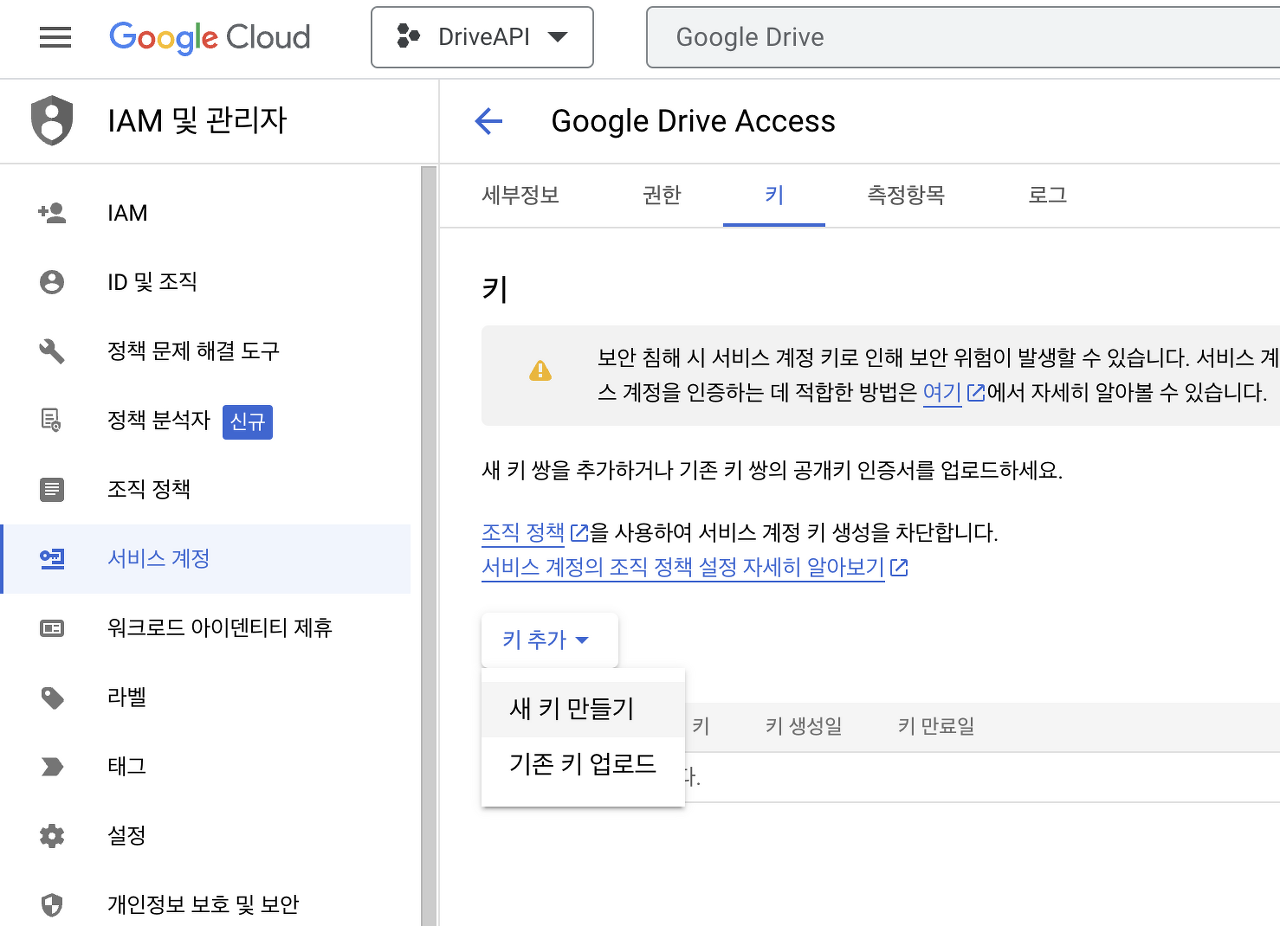
[키 추가] 메뉴를 열어서 [새 키 만들기]를 클릭합니다.
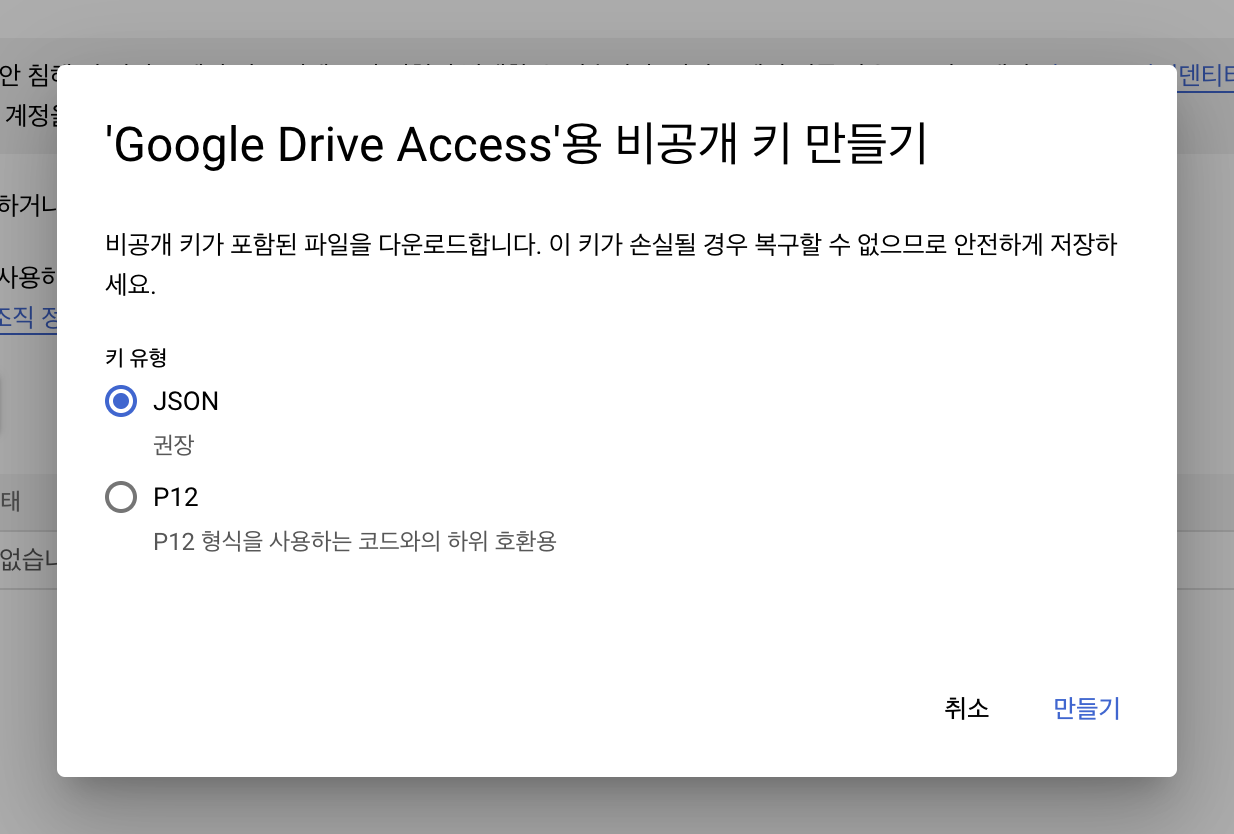
JSON 유형으로 키를 만듭니다.
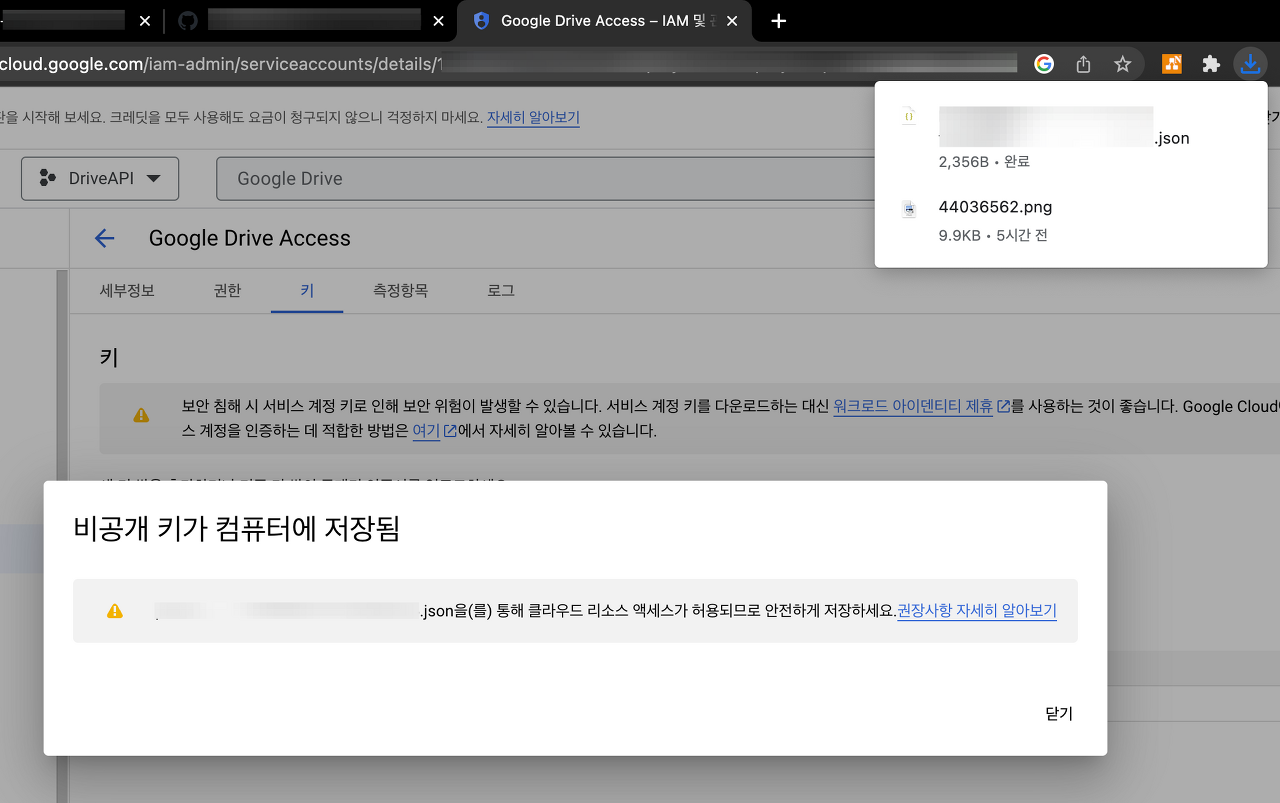
안내 문구와 함께 비공개 키가 json 형식으로 로컬에 저장됩니다. 저장된 json 키 파일은 잘 보관해야 합니다.
Google Drive 세팅
Google Cloud 관리 콘솔에 로그인했던 계정으로 Google Drive에 접속하여 공유할 폴더를 하나 생성합니다.

화면 오른쪽의 [액세스 관리] 버튼을 클릭합니다.

[사용자 및 그룹 추가] 란에 Google Cloud 관리 콘솔에서 생성했던 서비스 계정 이메일을 추가합니다. 이메일 형식은 보통 google-drive-access@xxxxx-xxxxx-xxxxx.iam.gserviceaccount.com 과 같습니다.
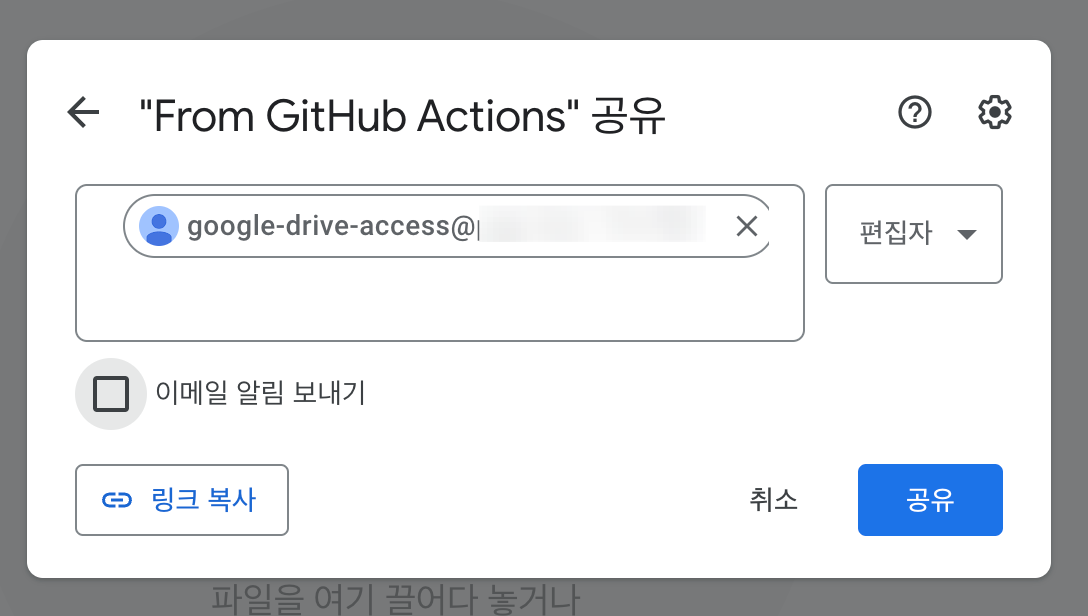
위 그림과 같이 서비스 계정 이메일 주소가 등록되었으면, 권한을 “편집자”로 설정하고, 이메일 알림 보내기 옵션은 체크 해제합니다. 그리고 [공유] 버튼을 누릅니다.
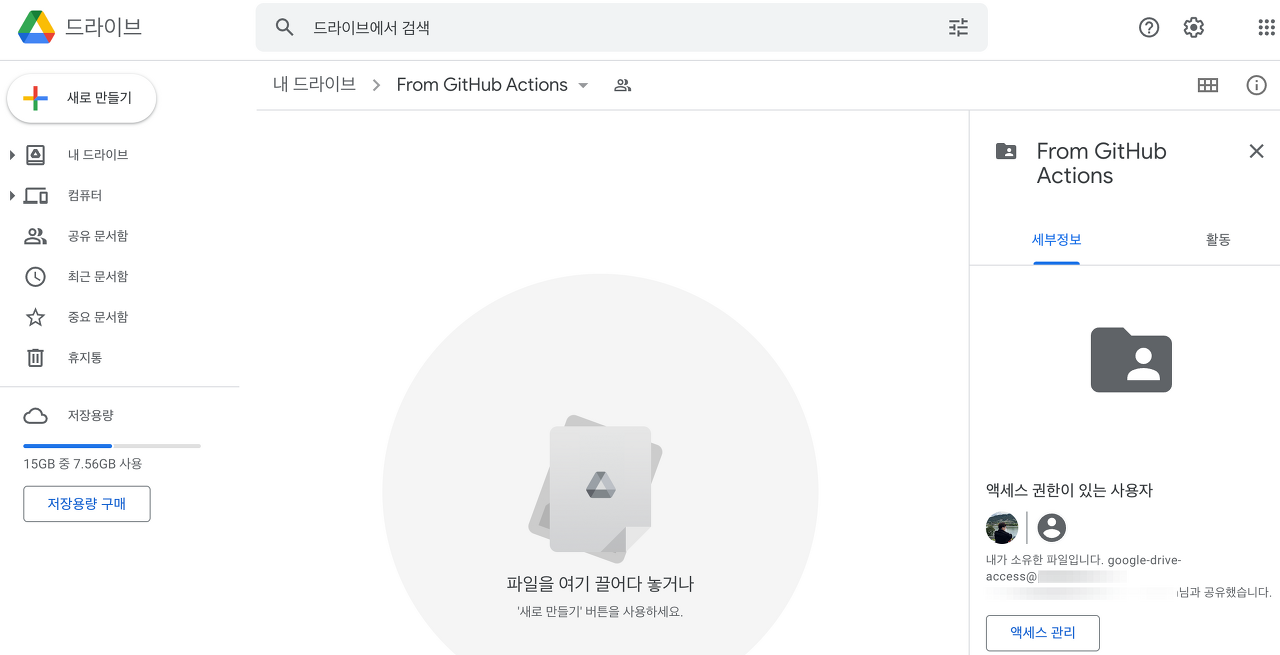
공유 결과 위 그림 오른쪽 부분과 같이 액세스 권한이 있는 사용자에 서비스 계정이 등록된 것을 확인할 수 있습니다.

마지막으로 공유 설정된 폴더의 url에서 폴더 ID를 가져와야 합니다. url 형식은 일반적으로 drive.google.com/drive/folders/<folderId> 위 그림의 붉은 색 네모 칸 영역이 folderId입니다. 이 부분만 복사해서 어딘가 기록해둡니다.
GitHub Actions 설정
앞서 Google Cloud 설정과 Google Drive 설정을 통해 두 가지 정보를 얻었습니다.
- Google Cloud 서비스 계정 JSON 키
- Google Drive 폴더 ID
이 두 가지 정보는 보안상 중요한 정보이므로, GitHub Actions의 yaml에서 바로 사용하지 않고 secrets에 등록합니다.
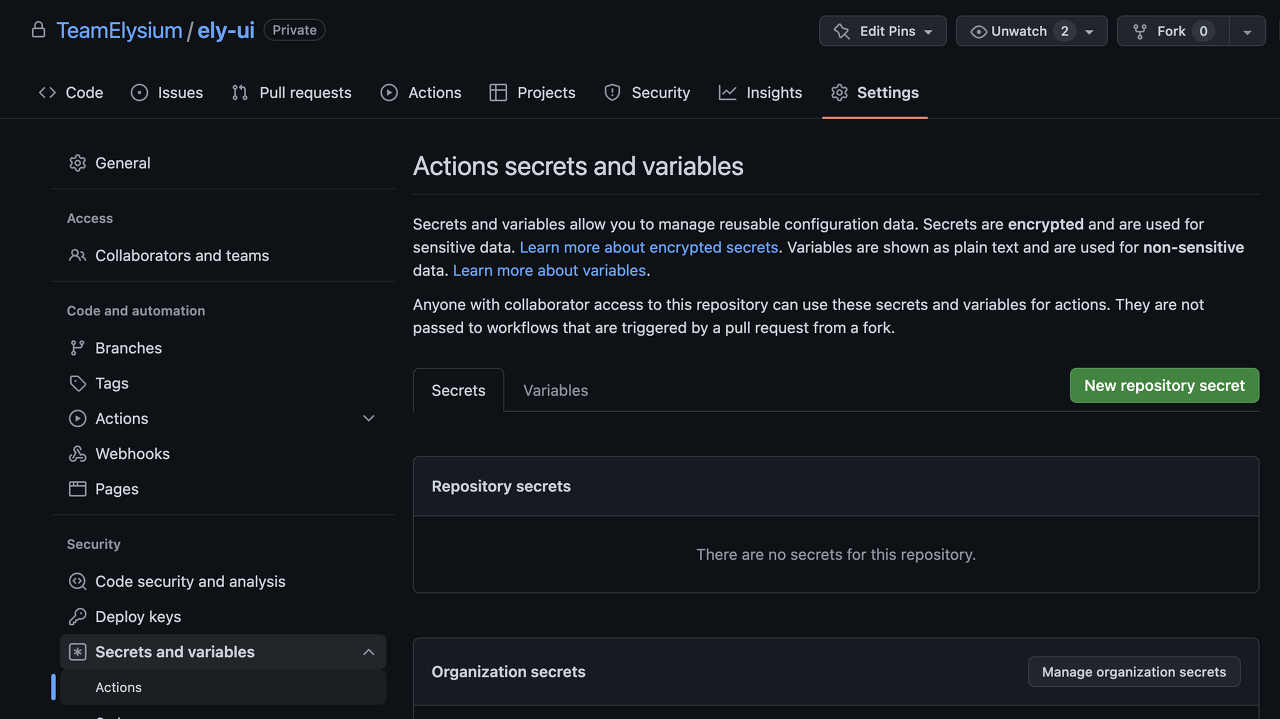
브라우저에서 GitHub Actions를 수행할 저장소에 접속한 뒤, [Settings] 페이지에서 [Secrets and variables]-[Actions] 메뉴를 클릭합니다. 그리고 [New repository secret] 버튼을 누릅니다.

먼저 Google Drive 폴더 ID부터 등록합니다. Name은 GOOGLE_DRIVE_FOLDER_ID로 설정하였으나, 다른 이름을 사용해도 문제는 없습니다. secret에는 Google Drive를 설정할 때 기록해둔 폴더 ID를 입력합니다. [Add secret] 버튼을 누르면 Google Drive 폴더 ID가 등록됩니다.
다음으로 JSON 키를 등록해야 하는데, base64로 인코딩해야 합니다. 인코딩하는 방법은 다음과 같습니다.
# 실행 환경에 따라서 -i와 -o가 생략될 수 있음
# base64 -i <input file> -o <output file>
$ base64 -i xxxxxxxxx-xxxx-xxxxxx-xxxxxxxxxxx.json -o encoded_json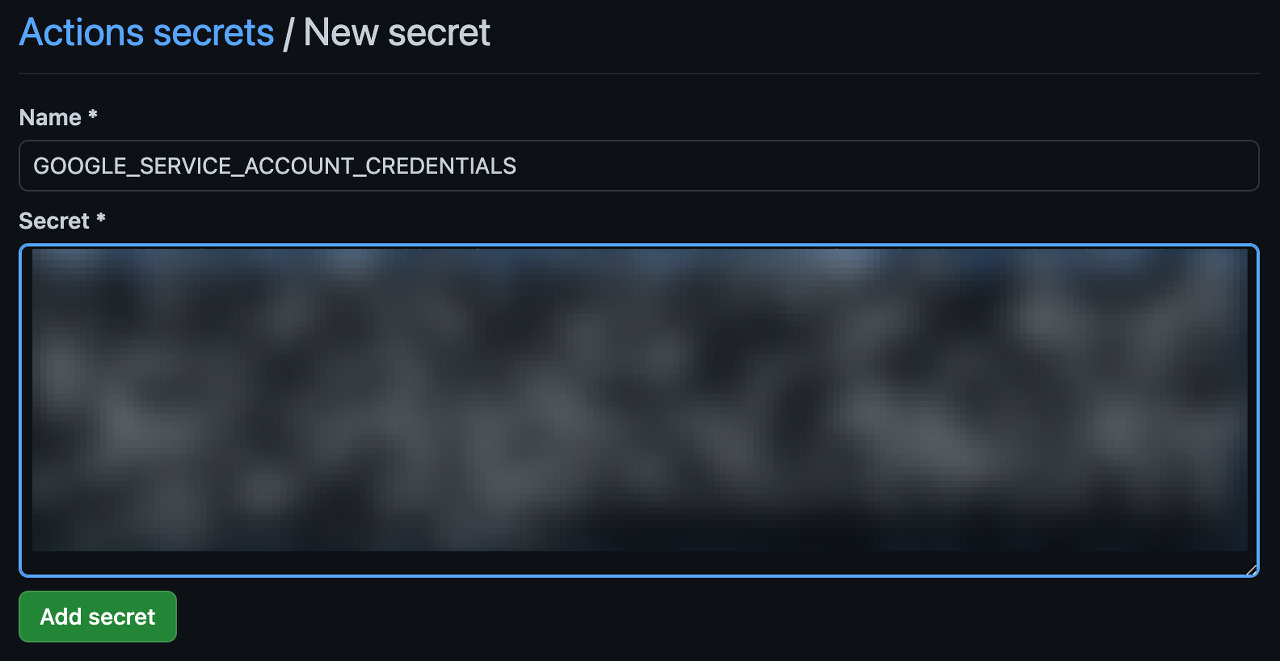
인코딩된 데이터를 위 그림과 같이 입력한 후 secrets에 등록합니다.
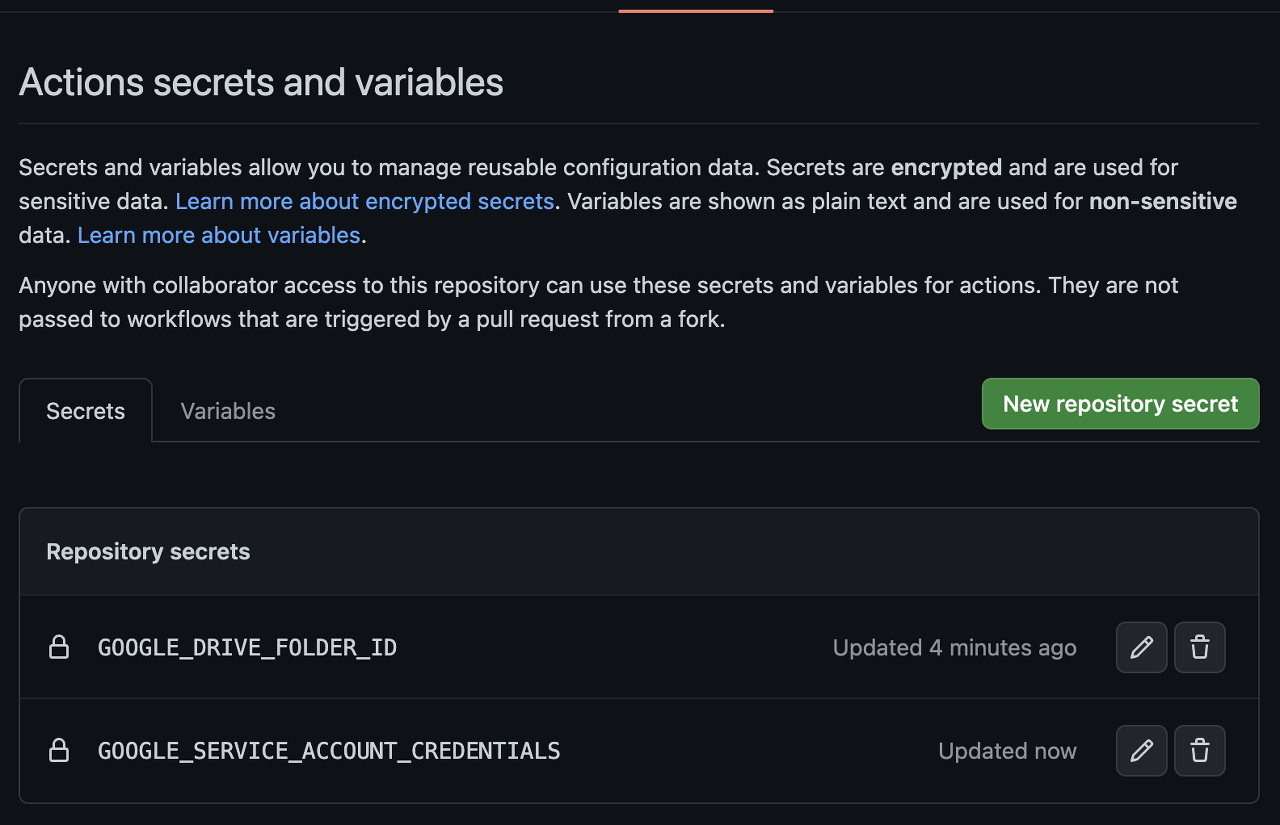
추가가 완료되면 위와 같이 Repository secrets 리스트에 추가된 secrets 이름들을 확인할 수 있습니다.
이제 workflow yml 파일에 아래와 같은 코드를 추가합니다.
- name: Upload a file to Google Drive
  uses: willo32/google-drive-upload-action@v1
  with:
    target: '업로드할 파일 경로'
    credentials: ${{ secrets.GOOGLE_SERVICE_ACCOUNT_CREDENTIALS }}
    parent_folder_id: ${{ secrets.GOOGLE_DRIVE_FOLDER_ID }}
이것으로 설정이 모두 마무리되었습니다.
728x90
반응형